Beginner cattle farming in New Zealand means learning to graze, feed and care for cattle on pasture, usually starting with a few calves on a small block of land. It takes a season or two to get confident, and that's normal. This guide covers the land, breeds, fencing, buying stock, health care and costs you need to think about before your first animal arrives.
Land and breed basics
Most New Zealand beef cattle live outdoors on grass, not grain. Many farms run cattle alongside sheep on hill country, with the animals grazing pasture all year round. If you're starting small, a good rule of thumb is at least 1ha (2.5 acres) of decent grazing land for two mature cattle. Less than that and you'll run short of feed fast, especially over winter.
For breed, stick with what suits New Zealand conditions. Angus, Hereford and Shorthorn are the traditional choices: hardy, used to our climate, and easy to find. You'll also see exotic breeds like Charolais from France and Simmental from Switzerland. These were brought into New Zealand from the 1960s onwards, mainly to cross-breed with the British breeds and add size or growth rate (Beef + Lamb New Zealand). An 18-month-old beef animal can give you over 150kg of meat (carcase weight, roughly what you'd end up with after processing), so your breed and feeding choices matter for the end result too (Beef + Lamb New Zealand).
If you want structured learning before you buy anything, the Cattle Farming course covers these basics in more depth.
Fencing, yards and handling gear
Sort your infrastructure before stock arrives, not after. Cattle are strong and will test weak fences, so standard post-and-batten fencing or a well-powered electric fence line is the usual setup. Most farmers run at least 3,000 volts through a cattle fence so the animals respect it rather than push through. Check your fence holds before you commit, not once an animal is already leaning on it.
You also need somewhere to safely handle cattle. A basic set of yards with a race (a narrow lane that lines animals up one behind another) and a crush (a headbail that holds one animal still) makes tagging, drenching and vet visits far safer for you and the animal. Stand to the side of the crush when you're working, not directly behind the animal, as that's where most kicking injuries happen. Trying to do any of this in an open paddock is how people get hurt.
Buying calves and sorting NAIT
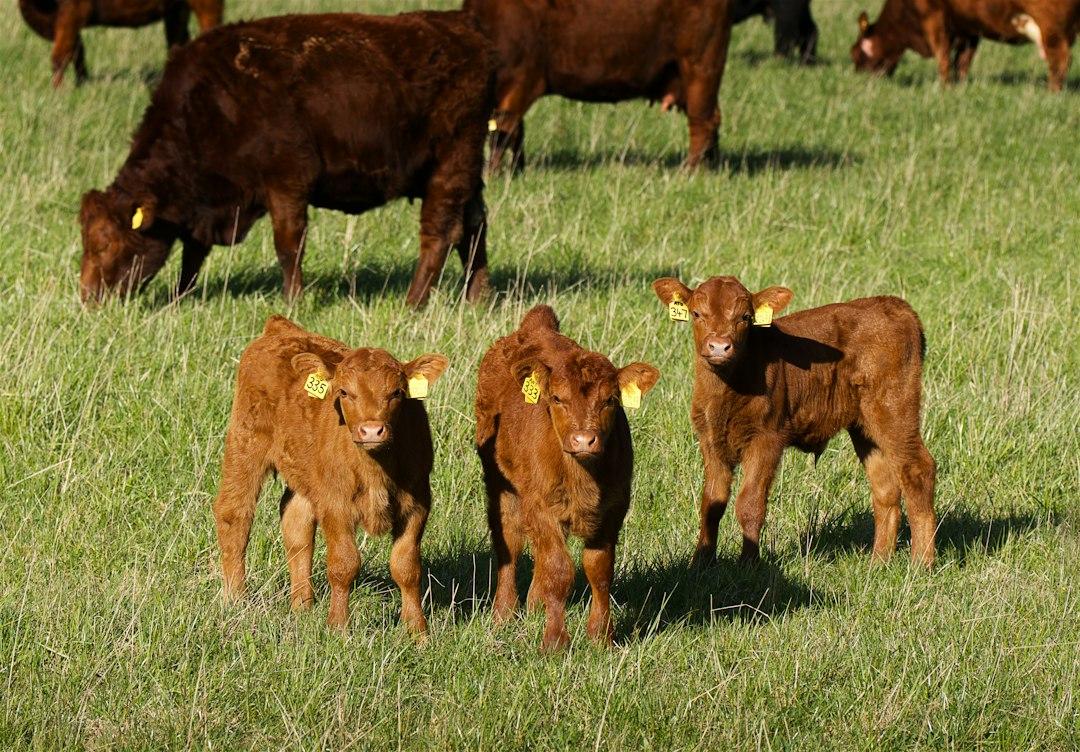
A common way to start is buying young calves, often from a dairy farm where they're surplus to the dairy herd. There are welfare rules around this: calves must be at least 4 days old, have a dried-up navel and have had enough colostrum (a mother cow's first milk, rich in antibodies) before they can be transported off the farm where they were born, under the Animal Welfare (Calves) Code of Welfare (Ministry for Primary Industries). Don't take an animal home before it's old enough and strong enough to travel. Ask the seller about its age and colostrum history if you're not sure.
Every beef animal in New Zealand also needs to be part of NAIT (National Animal Identification and Tracing), the scheme run by OSPRI that tracks cattle movements. You'll need an RFID ear tag fitted (by law this has to happen before the calf turns 180 days old, or before it's weaned or moved off the property, whichever comes first) and the animal registered to your NAIT number before it leaves your property. The NAIT number also has to be updated whenever ownership changes (OSPRI). Missing these steps can mean more than paperwork. OSPRI can issue penalties if animals aren't tagged or registered on time, so get this sorted on day one rather than leaving it.
Health, vaccines and biosecurity
Your first season is a steep learning curve, and that's expected. DairyNZ treats the first 90 days on a farm as the critical window for new staff to learn to spot problems early, with lameness and mastitis (udder infection) flagged as priority skills on dairy farms (DairyNZ). On a beef block the same "watch closely in the early days" mindset applies, though your daily checks will focus more on lameness, eyes (watery or cloudy eyes can mean pinkeye), and general body condition rather than udders. Check every animal daily, and don't assume a quiet one is fine. A sick animal that's kept isolated from the herd often gets more stressed, not less, so work with your vet on proper treatment rather than shutting it away alone.
Budget time and money for biosecurity too. Ask your vet about testing for diseases like BVD (bovine viral diarrhoea) and TB (bovine tuberculosis) before you bring new stock onto your property, since these can spread through a herd quietly before you notice anything wrong. You'll also need a basic vaccination programme and a regular drenching schedule to control internal parasites. None of this is optional if you want healthy, productive cattle.
What it actually costs to start
Beyond the price of the calves themselves, plan for milk replacer or meal while they're young, ongoing vet bills (vaccines, drenching, disease testing), trucking or freight costs to get animals to and from your property, and processing fees once an animal is ready for meat. These add up quickly, so it pays to write out a full budget before you buy your first calf rather than working it out as you go.
If you want a fuller grounding before you start, the Beef Cattle Farming course and the wider agriculture and farming courses are worth a look, alongside your vet and local farming advisors.
Ready to start learning properly before your first calf arrives? Get in touch with our team and we'll help you find the right course for where you're at.